Tesla Coil Construction Project
Secondary Coil
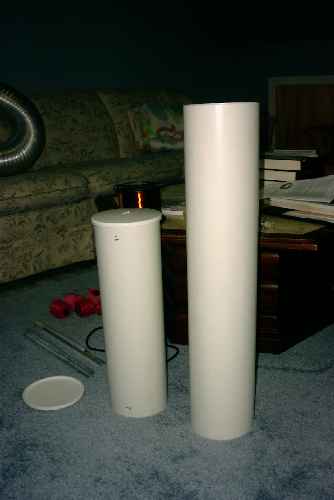
I first cut a 30 inch long piece of 6" PVC (6-1/4" OD) pipe using a
hack saw. After finding out that the available wire that Tom acquired was
only 24 gauge, I figured I better cut the length down a bit to reduce the
number of turns and the DC resistance of the long length of small wire.
Here you can see the original 30" PVC and the freshly cut 20" pipe. Leaving
an inch or so exposed at the ends, the pipe length will be wound about
18 inches with the 24 ga. wire. I got a couple of PVC end caps with the
pipe, but found them to cover about 3" at the ends of the drain pipe. Using
my trusty hack saw, I reduced the overlay to a mere 1/4". I drilled a 3/8"
hole in each end cap for the "all-thread" supports. I plan to wind the
30" form later with 20 ga. or 22 ga. wire.
 Click on image for enlarged view
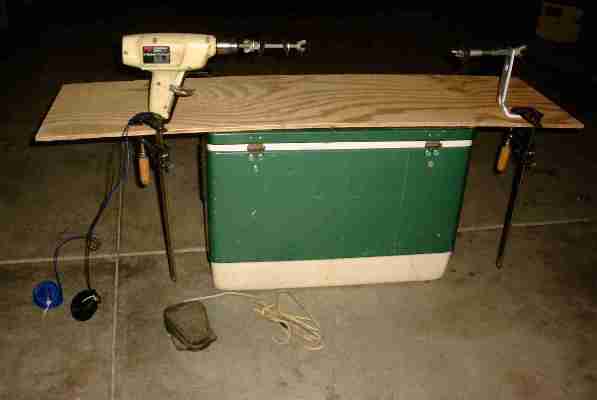
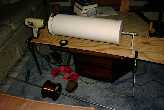
I threw together a coil winding jig out of an old drill I got for a buck
at the Monroe, Michigan hamfest. I took the drill apart, removed all the
switches and batteries, then hooked a wire directly to the motor. Next
I fastened it to a sheet of plywood with a piece of scrap metal, a hose
clamp and a wood clamp. Another piece of scrap metal was bent and drilled,
then clamped to support the other end of the form. On the floor you can
see an old foot switch which will be used to control the drill motor power.
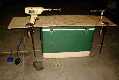
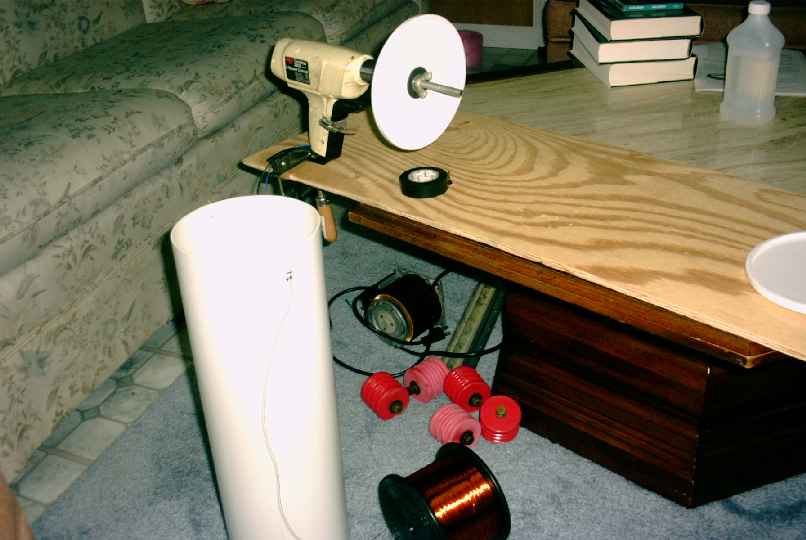
I next fastened the winding jig to the coffee table with a couple more
wood clamps. The drill motor was wired to a 0-20 volt Lambda power supply
through the foot switch. (The power supply was another $1 hamfest bargain,
but I did have to carry the boat anchor to my car--UGH.) I drilled
three 1/8" holes at one end which will be used to mount the coil. I also
drilled a very small hole at each end for the wire to run through.
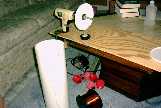
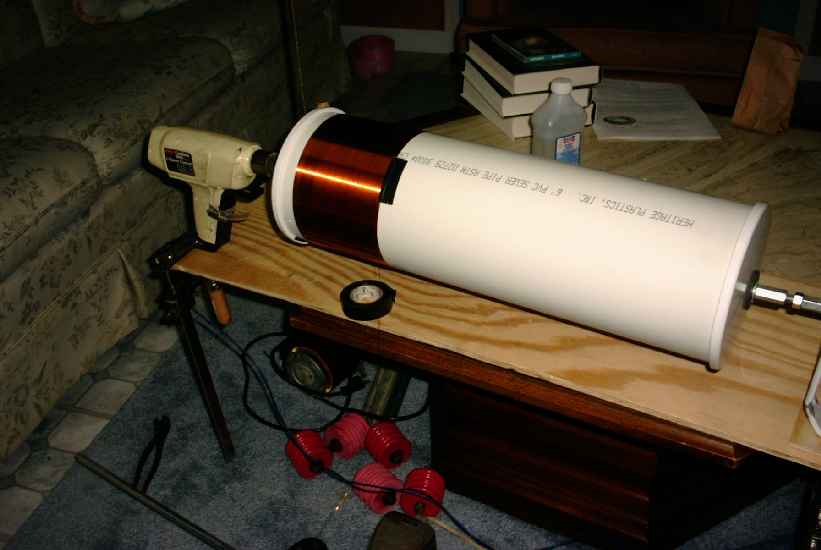
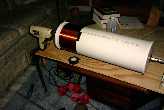
Here you can see the coil form mounted to the jig, ready to turn. Ham radio
operators may notice that the bar used to support the wire as it unspools
is a mast from a Hustler mobile antenna. I just sat on the chair with the
wire spool on my legs. I tensioned the wire by gently pinching it with
my left hand while wearing a leather glove. My right hand thumbnail rode
along the edge of the wire as it spooled on to the PVC to press it against
the previous winding.
This is after just 5 minutes of winding. The drill spun the form 30 to
60 RPM. With the power supply set to only 5 volts to the drill, I could
easily control the speed by increasing the wire tension.
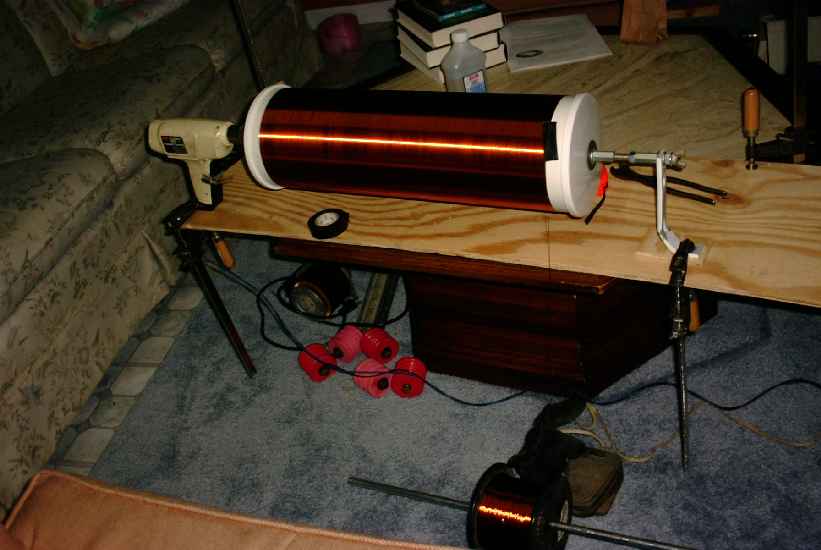
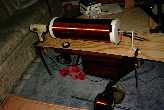
Voila! Just 30 minutes later I have 18-9/16" of coil complete. This includes
a few stops to check the mechanics and have sips of soda. It all went on
real easy. The only problem was about half way through, the thing was getting
a bit floppy. I found the wing nut inside the right end was coming loose
due to the spinning. I suppose I could have oiled my homemade bearing,
but it didn't squeak all that much.
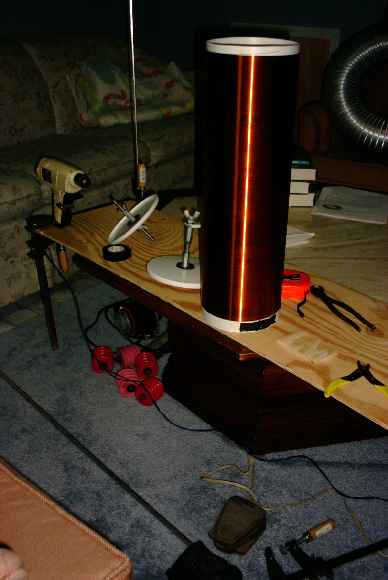
Here the coil is removed from the jig and ready for coating. In the background
you can see the aluminum dryer duct that is being prepared for the toroid
terminal.
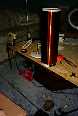
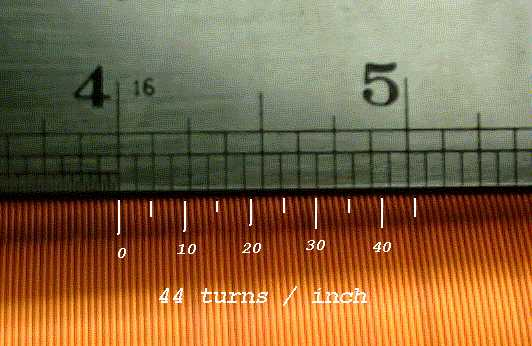
A quick measurement shows that I have about 44 turns per inch. With 18-9/16" of
pipe covered, I have about 817 turns of wire. At just over 19.6" per turn, I have about
1,337 feet of wire coiled!

 Click on image for enlarged view